how to use cricut transfer tape
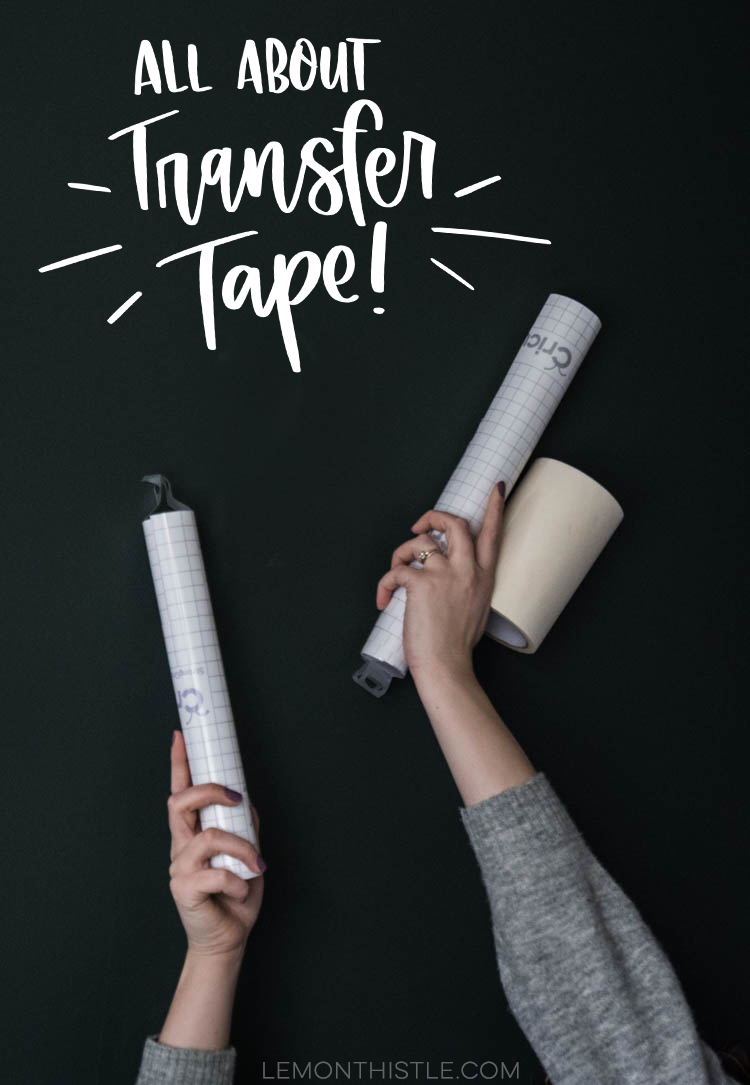
If you've been around for a while, you'll probably know that I love to use my Cricut to personalize things. When I first got it a few years ago… I knew NOTHING about vinyl or how to use the stuff. I actually cut out decals and peeled each piece off by hand and placed it on my surface. What a pain! Transfer tape wasn't anything I'd considered. What a game changer!
So today I've partnered with Alexis from Persia Lou to share ALL about transfer tape… or transfer paper or whatever you want to call that sticky paper or vinyl that helps you transfer your adhesive vinyl to your surface. I'm sharing my three favourite transfer papers and what I use which materials as well as HOW to apply it in my YouTube video.
Also since publishing this video on Saturday, I've learned that everyone in the US says decal 'dee-cal'… and a lot of people care enough to tell this Canadian that 'deck-all' is wrong. So be warned about watching the video if that's going to bother you ;)
WHAT IS TRANSFER PAPER OR TRANSFER TAPE?
Transfer tape is basically sticky paper or vinyl like material that you use to transfer an adhesive vinyl decal to your surface. After weeding your decal, you pick up your design with the transfer tape (removing it from the backing) and lay it down on to your surface. Then you can peel off your transfer tape and reveal your finished decal placed perfectly on your surface. Easy, right? But there's some things to keep in mind.
WHAT DO YOU USE TRANSFER TAPE FOR?
Transfer tape is essentially for all regular adhesive vinyl. Indoor vinyl, outdoor vinyl, stencil vinyl, chalkboard vinyl, adhesive foil, glitter vinyl… pretty much all adhesive vinyl is simple to transfer using transfer tape. BUT there's an exception to this! DON'T use transfer tape with printable adhesive vinyl. The printed design is too easy to grip and will be damaged by your transfer tape. These you will have to peel and apply by hand. If you want to see me mess this one up… I did that here.
You also don't want to use transfer paper for other materials like paper, window cling, sticker paper… anything that doesn't have a vinyl finish. And of course, you don't need it for any iron-on material.
(photo from this post)
SHOW ME HOW TO USE TRANSFER TAPE FOR VINYL!
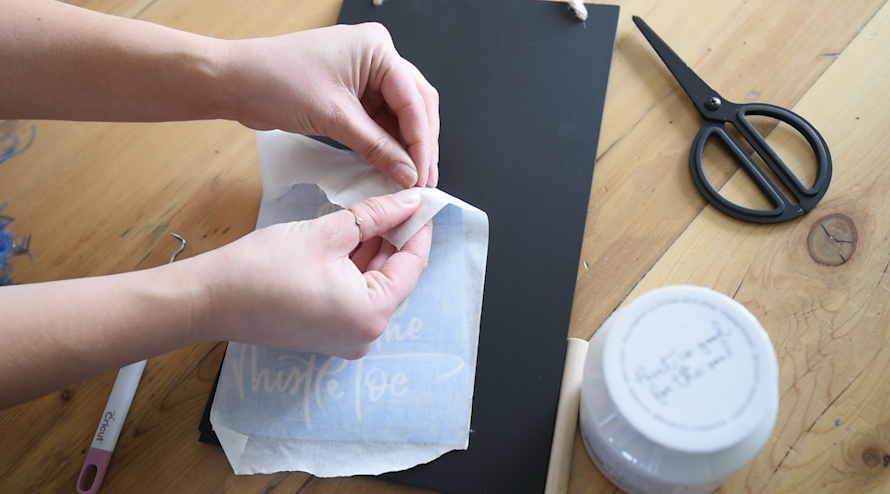
The best way to teach you is to show you, which I do in the video BUT if you're watching from work or without sound- here's the short of it. The first thing you'll need to do is to cut out your design from adhesive vinyl and WEED it. The example photos here are stencil vinyl so they are reverse weeded if it looks confusing. Once it's weeded and still on the backing, you lay your transfer tape OVER your design and smooth it down. Then I like to turn it over and smooth it down extra well from the back.
Then you can peel back your backing, leaving your vinyl design ON your transfer paper. If it is being tricky and wanting to stick to the backing more than the transfer tape, I find the best way to make sure it sticks to the tape is to fold the backing all the way back and peel it off that way (demonstrated in the video). This fold is so hard for the vinyl to stick to so it stays on the transfer paper.
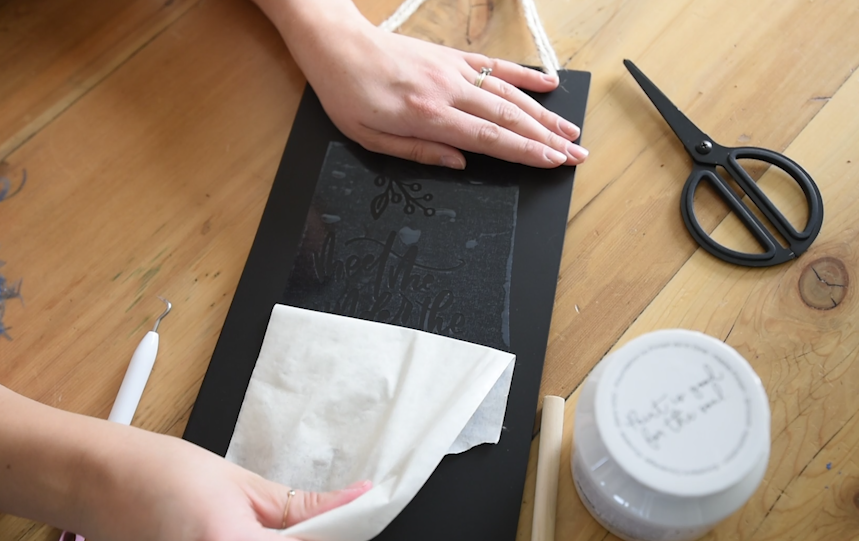
(photo from this post)
Once you have your decal on your transfer tape, line it up and lay it on your surface. Smooth it really well (you can use a scraper if you like!) and then peel back your transfer paper. Again, I like to almost fold the transfer paper back as I peel it to keep the decal from coming up with the paper. This reveals your beautiful design (or stencil in this case) on your surface. Then, smooth your decal on again before calling it DONE.
WHAT KIND OF TRANSFER TAPE SHOULD I USE?
There are SO MANY kinds of transfer tape out there. I haven't tried them all. But I use these three regularly and would recommend them to you 100x over. So here's what I use each of them for.

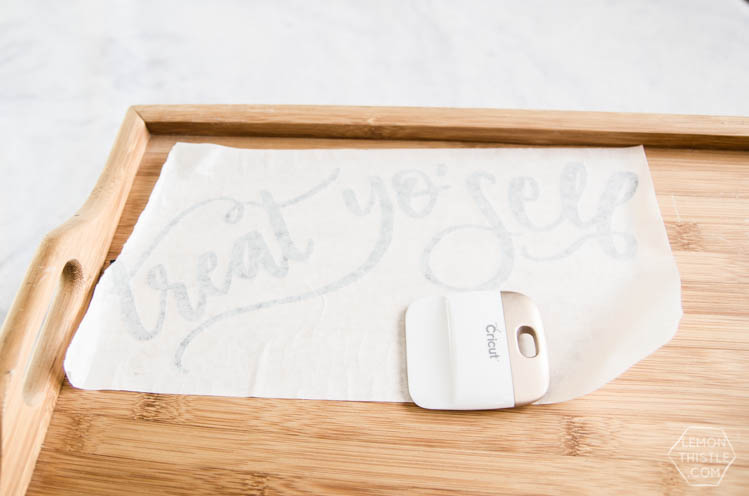
(photo from this post)
For regular adhesive vinyl, stencil vinyl and other thin vinyls, I reach for the Expressions Vinyl Paper Transfer Tape. This roll is so big and affordable. I really love it because I can tear it easily and don't have to find scissors when I'm making a bunch of smaller decals. It does come in a 12″ roll as well if you do larger projects and like the idea of this one. It has a lighter grip than some of the other transfer tapes (lighter than both the other two I am holding) which makes it great for really delicate designs and thin vinyls.
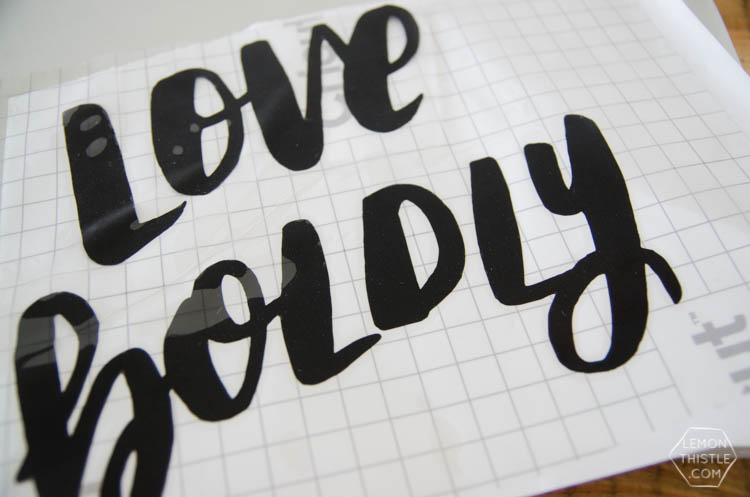
(image from this post)
For MOST all other vinyls like adhesive foil, matte foil, holographic vinyl, chalkboard vinyl etc., I reach for Cricut Transfer Tape. It's a bit stickier for these thicker materials and is nice because it's crystal clear with a grid to make lining up your design really easy. I would pull out the scissors to cut this one instead of tearing it since it is a little bit thicker.
Glitter vinyl from Cricut is a beast. I love how it looks (it's like sprayed glitter into a sheet so has a great texture) but is so hard to grip with transfer tape to transfer. That's where the Cricut Strong Grip Transfer Tape shines. It's SO good for the trickiest of materials! It's also clear with a grid and this one is definitely thick enough that you must use scissors.
Alright… there you have it! That's my guide to transfer tape as I use it. If you want to learn MORE about transfer tape, some tricks to applying it (Alexis is the master of vinyl on curved surfaces), and see some other types of transfer tape in action, you should check out Alexis' video!
how to use cricut transfer tape
Source: https://www.lemonthistle.com/how-to-use-transfer-tape-for-vinyl-cricut-vs-silhouette/
Posted by: ayalasafteph.blogspot.com

0 Response to "how to use cricut transfer tape"
Post a Comment